
 VGR
VGR


Search Product
How To Clean A Hair Dryer Filter
The first step in thoroughly cleaning the hair dryer filter and getting the wind back to normal is always to unplug the power. Cleaning the filter is not only for hygiene, but also to prevent the motor from overheating and extend the service life of this modeling tool.
hair dryer maintenance list:
- Pull the plug before you start.
- Remove rear cover (unscrew or pull out).
- Brush off lint and dust from the filter.
- Wash with soapy water only when there is grease.
- Be sure to wait for all parts to dry thoroughly before reinstalling.
Next, I have compiled a set of professional cleaning process, which can ensure that your equipment is always at its peak.
Step1: Safety First: Complete Power Outage
Before starting any maintenance, the most important step is to unplug the hair dryer from the wall socket. Never try to clean the filter screen with electricity on. This situation can easily trigger a false touch switch or an electric shock when touching internal parts. There is no need to take this risk.
Step2: Locate And Remove The Screen Cover
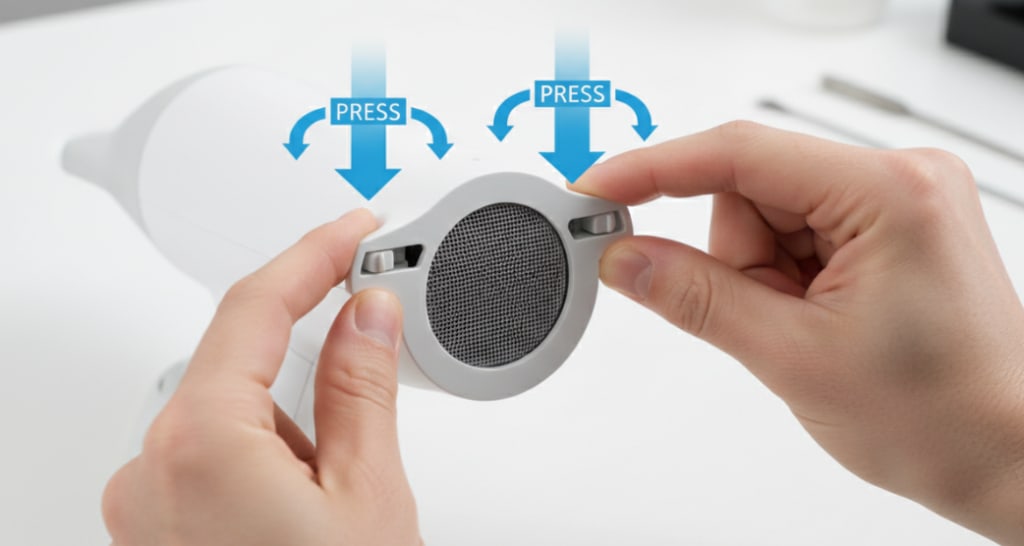
Most modern hair dryers are designed with a detachable air intake hood at the rear of the fuselage.
- Screw type: hold the tail cover tightly and rotate it counterclockwise.
- snap-on style: some models require you to gently pry open, or press and hold the release button on the side.
Once you remove the outer cover, you can see the fine metal screen inside. The purpose of this web is to catch dust and hair before they come into contact with the heating element.
Step3: Remove Surface Impurities And Cotton Wool
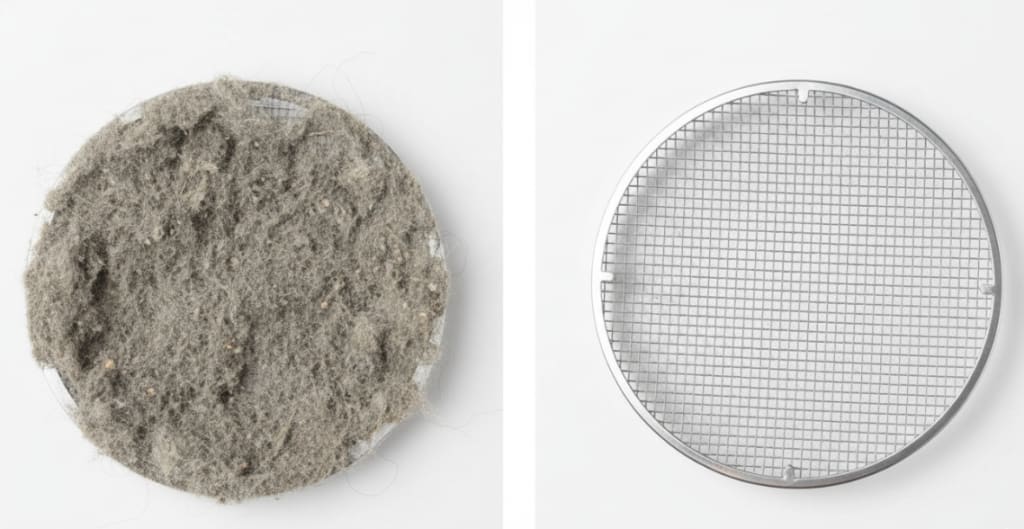
Once it takes a long time, the filter and the outer cover will certainly accumulate a thick layer of cotton wool.
- Toothbrush solution: Find a clean, dry old toothbrush or any soft bristle brush.
- Gentle scrubbing: Brush the filter carefully to shake out the dust particles.
- Clean the outer cover: do the same for the removed tail cover to ensure that each air inlet is not blocked.
Don’t underestimate this step, just brush off this layer of dust, the air volume can be significantly improved.
Step4: Deep Cleaning Of Oil Residue
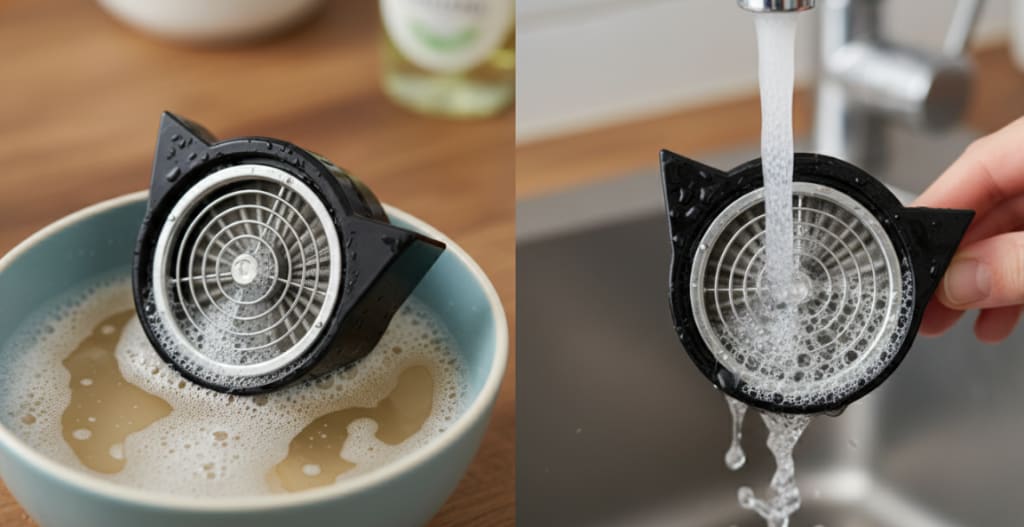
If you often use hair spray, insulation spray or hair care oil, the filter will often adhere to a layer of oil film. This thing is sticky and not clean with a brush alone.
- Soak: If the outer cover is made of plastic or metal, you can throw it into warm water with a trace of detergent for a while.
- Rinse: Gently wash off the residual product dirt, and then rinse with water.
Note: Only the disassembled external parts can be cleaned. The main body of the hair dryer must not touch water. We must keep this common sense.
Step5: Critical Drying Phase
When maintaining filters, the most common low-level mistake is to put them back in before they dry.
- Stick to the shade: Place the washed parts on a dry towel and let them air dry naturally.
- The harm of moisture: If there is still moisture on the filter, as soon as you turn on the machine, the water vapor will be immediately sucked into the heating coil.
In my experience, this often leads to a permanent short circuit, and in severe cases there is even a risk of fire. You must make sure that the strainer is 100 percent dry before you put it back in.
Author: Sarah Jenkins
As a professional hair tool enthusiast and home maintenance expert, I’ve spent years helping users get the most out of their styling devices. I believe that safety and device longevity go hand-in-hand. I wrote this guide to provide clear, actionable steps on maintaining your hair dryer filter, ensuring your tools perform efficiently while keeping your home safe from fire hazards.
The prev: How A Foil Shaver WorksThe next: How Hot Can A Hair Dryer Get
