
 VGR
VGR


Search Product
How To Clean Hair Clipper
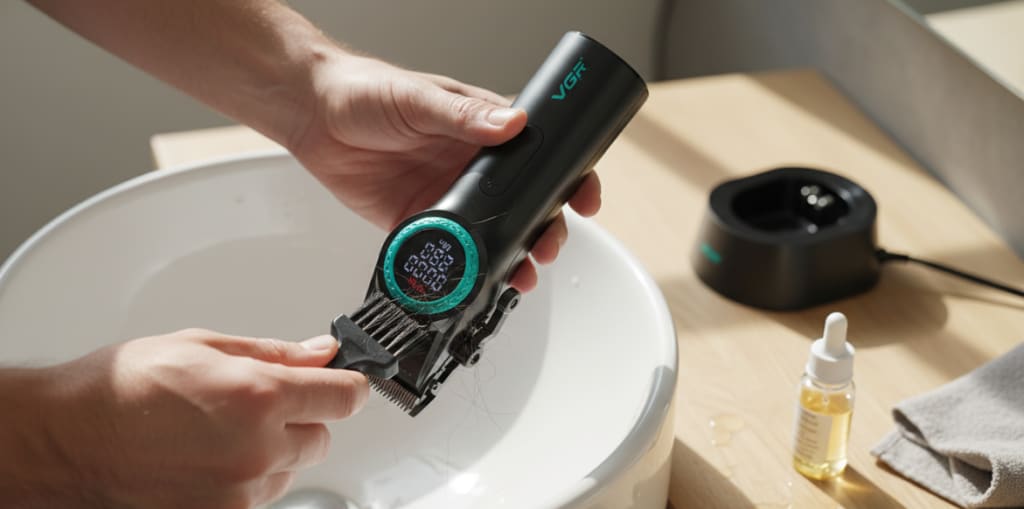
To get a hair clipper completely clean, first of all, you have to unplug the power supply first. Then, take a stiff brush or a compressed air tank and clear all the broken hair hidden in the mechanical structure. After cleaning up the broken hair, disinfect the blade. You can use a professional pusher spray, or directly with 70% isopropyl alcohol. You have to let the disinfectant stay on the blade for a while, follow the instructions, and then dry it thoroughly. Don’t put it away with moisture, or you’ll face rusty scrap metal in a few days.
Finally, it is also the most critical: drop a few drops of high-quality pusher special oil on the knife teeth, run for a few seconds on the machine, let the lubricating oil be evenly distributed, and finally wipe off the excess oil. You have to know that keeping the haircut clean is not only for hygiene, but also to keep the power of the motor and make the blade live longer.
This video demonstrates how to properly clean and oil your clippers:
Step 1: Deep Cleaning Broken Hair Residue
Before any liquid hits your pusher, you have to make sure it’s in a clean physical state.
- Safety first: Always remember to unplug the wired pusher. If it is wireless, make sure the switch is off.
- Brushing technique: Use the special cleaning brush with bristles (usually given when buying a pusher) to carefully sweep the hair between the teeth of the knife.
- Compressed air: When you encounter stubborn hair stuck deep in the casing or behind the blade set, the effect of spraying compressed air is immediate.
- Why you should do this: Believe me, if these broken hair pile up, it will cause the motor to overheat and increase friction, and the flipper will soon become more and more fleshy.
Step 2: Disinfection And Sterilization
After the hair is cleaned, the next step is to deal with bacteria and accumulated skin oil.
- Choose the right solution: it is best to use the “several in one” spray (which can disinfect, cool and lubricate) specialized in barbershops, or use 70% alcohol as the second best.
- Operation process: spray directly on the blade. If you’re using the soaking method, remember to dip only the tip of the blade into it-never soak the entire body.
- Contact time: let the disinfectant stay on it for enough time. This “residence time” is necessary, and the chemical takes time to kill the pathogen.
- Anti-rust treatment: after disinfection, take a clean, lint-free cloth to dry the blade thoroughly.
Step 3: Lubrication And Blade Maintenance
This is the last step, which is oiling, which ensures that the two metal blades are as smooth as silk when they rub against each other.
- Dripping oil: drop 2 to 3 drops of high-quality special oil on the top of the knife tooth.
- Tip: Never use WD-40 or vegetable oil for cooking. Those things will paste the internal structure of the pusher and make it go on strike.
- Distribute evenly: Turn on the pusher and run for 5 to 10 seconds. This kind of movement will allow the lubricating oil to fully penetrate the gap between the moving knife and the fixed knife to achieve all-round coverage.
- Final wipe: Take a new cloth to wipe off the excess oil. If too much oil is left, it will absorb broken hair like a magnet next time you have a haircut. It will not only get dirty quickly, but also easily pull the hair of the guests during the haircut. It feels uncomfortable.
Author :Marcus Sterling
“With over 12 years of experience as a professional barber and grooming consultant, I’ve handled and maintained every type of hair clipper on the market. I hope to share technical maintenance secrets that extend the life of your tools while ensuring a safe, sanitary experience for every user. I believe that a well-oiled blade is the foundation of a perfect haircut.”
