
 VGR
VGR


Search Product
How To Clean Hair Trimmer
To clean your clippers, first use a cleaning brush to carefully remove all hair debris from the blades and the internal hair collection box. Next, disinfect the metal parts by wiping or soaking them in isopropyl alcohol to kill bacteria and prevent skin irritation or folliculitis. Crucially, after the blades are dry, apply 2-3 drops of professional clipper oil or lubricant while the motor is running to prevent rust, maintain smooth operation, and extend the life of the device.
Cleaning Essential Tools For Hair Clipper
Before you do it, check if you have these things on hand.
- The bristle cleaning brush (usually sent when buying a machine).
- Small screwdriver (for deep cleaning removal).
- 70% concentration of isopropyl alcohol.
- Professional hair shears lubricating oil or high quality motor oil.
- A clean rag that doesn’t pilling.
Step 1: Clean Up Broken Hair And Internal Accumulation
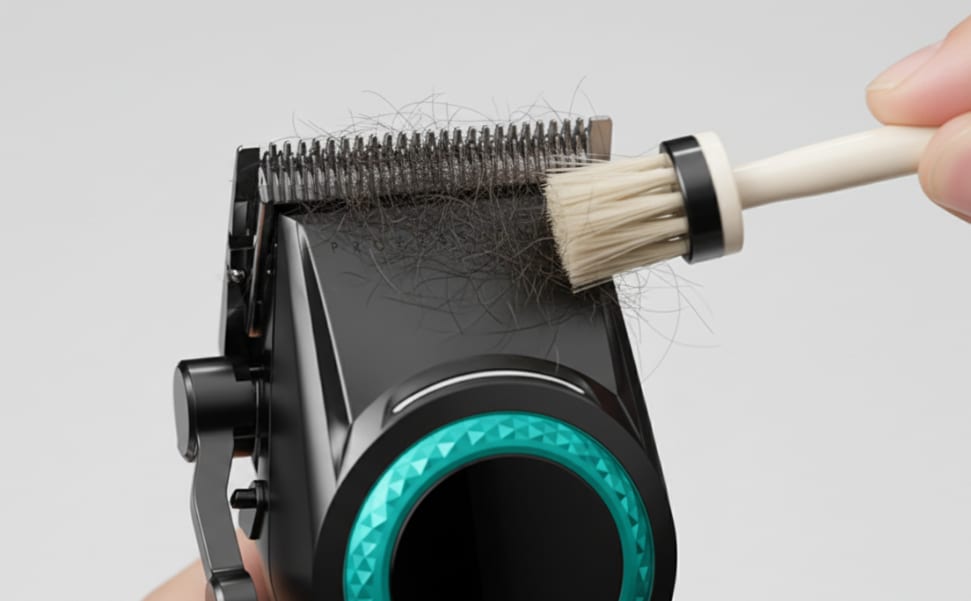
The first step in any cleanup process is to remove the physical waste. First use a brush to remove the hair from the cracks in the knife’s teeth, but I have to remind you that just brushing the surface is usually not enough. If you use the fader often, hair and dander will get into the inner chamber. These invisible accumulation is the culprit that causes the motor speed to slow down and the cutter head to overheat. Pick up the screwdriver, carefully remove the cutter head set, and clean up the “old hair” hidden inside, which can ensure the smooth operation of the internal mechanical structure of the machine.
Step 2: Disinfect The Skin Safely

The pusher is in direct contact with the skin. If it is not disinfected, it is simply a hotbed of bacteria. After the broken hair is cleaned, the metal parts must be disinfected. You can wipe it thoroughly with alcohol, or simply soak the removed tip in isopropyl alcohol. This step is essential to effectively kill pathogens that cause folliculitis or scalp allergies. After disinfection, remember to let the parts dry completely naturally, or wipe them dry with a sterile cloth before reassembling.
Step 3: The Correct Lubrication Is The Core Of Performance

Lubrication is the most critical step in determining the life of the cutter head, and many people will forget this skill. Friction between metal surfaces can cause the blade to become dull and rusty. When the cutter heads are clean and dry, put them back in (if removed before) and turn on the fader. While the motor is rotating, drop 2-3 drops of professional lubricating oil on the cutter teeth. Why do you want to open the machine dripping oil? Because so that the oil can be evenly distributed to every friction point with the movement. This simple action will prevent rust and keep the blade sharp, ensuring that every time you cut your hair, it will be as smooth as with a new machine, without the deadly “pulling feeling”.
Epilogue: The Benefits Of Forming Habits
Following this professional process of sweeping, dismantling, removing and oiling is actually protecting your equipment investment. A properly maintained hair clipper can not only be used for several more years, but also provide a more hygienic and accurate haircut experience. Don’t wait until the machine starts to burn or tug your hair before remembering that it needs care.
Author: James Miller
As a professional grooming specialist with over a decade of experience in tool maintenance, I know that a trimmer’s performance is only as good as its last cleaning. I’ve dedicated my career to mastering the technical nuances of hair tools—from understanding internal motor friction to the science of blade sterilization.
The prev: Hair clipper vs hair trimmerThe next: What Is A Hair Dryer Diffuser Used For
