
 VGR
VGR


Search Product
How To Use A Hair Trimmer
If you want to push a decent hairstyle in your home hair clipper, or even avoid the embarrassing scratch, it is not enough to have a good clipper. You have to have a solid operation process.

Step 1. Don’t Waste Time On Wet Hair
The most critical point is that the hair must be thoroughly washed and must be “completely dry“. Many people roll over because they do it when their hair is half dry and not wet. Moisture will make the hair ball together and paste it directly on the blade. The pusher will start to pull the hair, and the effect of cutting is also long and short. When the hair is dry, the blade can smoothly cut off every hair.
Step 2. Long Before Short Is The Life-saving Symbol
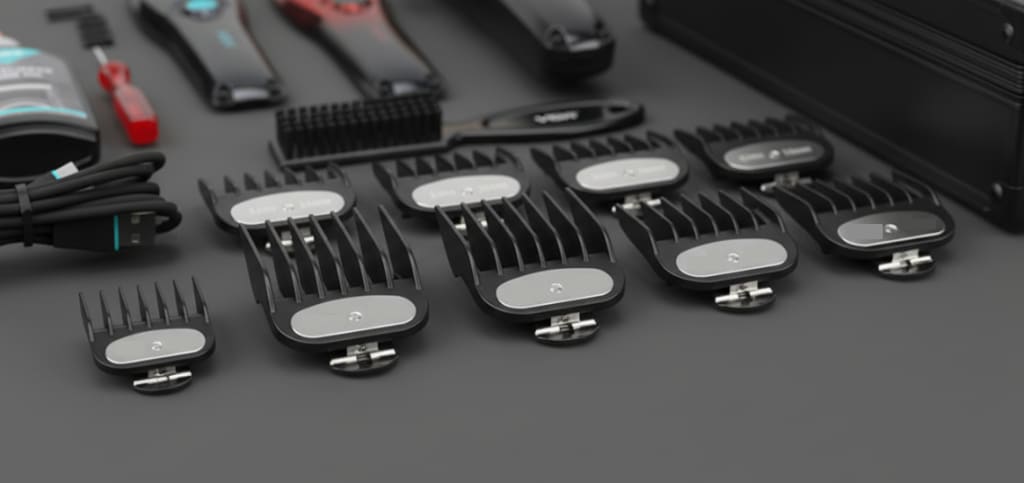
When choosing a limit comb (caliper), this is actually your fault tolerance space. If you are not sure about the length, listen to my sentence and install a large one first, such as size 3 (about 10mm) or size 4 (about 13mm). If I cut it long, I can change it short and repair it again. If I cut it bald, I can only wear a hat and wait for it to grow out.
Step 3. Be Steady And Ruthless
If you want to push as flat as a barbershop, technique is the key. Hold the hair clipper so that the flat surface of the blade is close to the scalp. Be sure to push up slowly and steadily against the direction of hair growth. Because the hair grows quite disorderly, only the reverse push, the blade can effectively “feed” the hair. Moving too fast is not only easy to leak shear, but also easy to get stuck if the motor load is too large.
Step 4. Don’t Draw Indiscriminately
Haircuts can’t be randomly pushed, you have to logically maintain symmetry. Start with the sideburns and the hairline at the back of the head, which are the places most likely to look sloppy. Then from bottom to top, slowly transition to the top of the head. The most difficult thing to do is definitely the back of the head. This blind area of sight is definitely not good by feeling. I suggest that a small mirror must be taken to look at the large mirror on the wall. Only by observing from double angles can the length of the push-out be consistent.
Step 5. Details Of The Grade
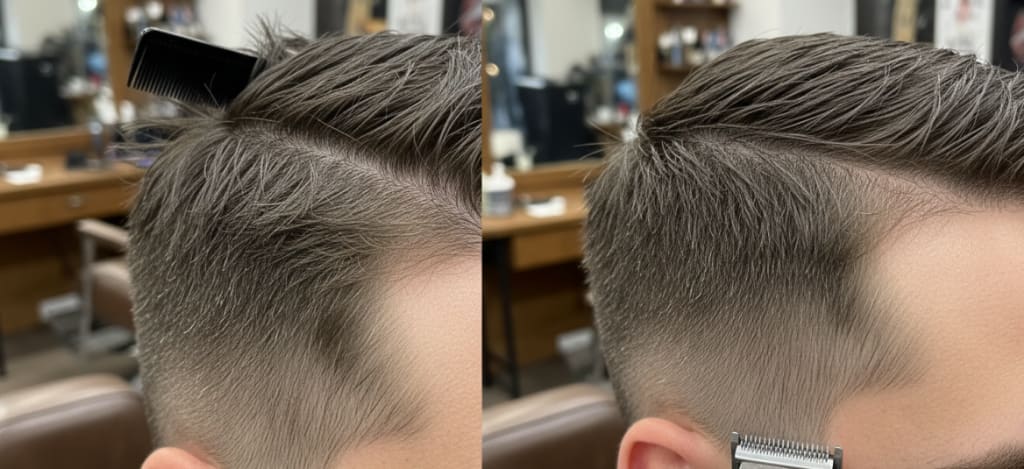
After the large-scale push, it is time to see the real chapter. Remove the stop comb and use the edge of the bare blade directly to trim the contour around the neckline and ears. That kind of “professional texture” is actually supported by these clear lines. The hand should be very light, just a little force, so as not to cut the skin.
Step 6. Long-term Use Of Maintenance Experience
After the hair was cut, the work was not finished. Every time you use it up, use a small brush to sweep out the broken hair in the knife seam, and then drop two drops of special lubricating oil. This habit is actually quite worry-free, can reduce friction, protect the motor and battery. The next time you use it, it will be as neat as it was when you first opened the box, and will not pull your hair because of rust or dullness.
Author Name: Leo Chen
“Hi, After years of experimenting with home grooming and navigating through several ‘half-dry hair’ disasters, I’ve mastered the art of the DIY haircut. My philosophy is simple: hair cutting is about patience and preparation, not just having the right tools. “
The prev: How To Use Dryer HairThe next: How Hot Is A Hair Dryer Air
